Although email has become the predominant means of communication on the web, sending or receiving a fax is still essential. In this tip, we'll walk you through the installation process and common trouble areas when installing the fax function on your printer. Faxes are sent and received over your phone line, much like a normal telephone call, and are not sent through your internet provider (unless you have a special service). So, your fax device will need to connect to your phone line, even if you have a broadband internet connection. Before we get started, make sure that, in addition to your computer and monitor, you have a telephone cable nearby, a telephone socket with active phone service, a printer with fax capabilities, and software for your fax function installation. It's a good idea to test the phone jack with a phone to ensure there's a dial tone before you go through the setup. Since faxes use the phone line, if you only have one phone line and use dial-up internet access, you will not be able to send or receive faxes while you're on the internet. The two things to remember when installing the fax function are: 1. Programming the appropriate country settings on the OP panel. 2. Following the Dell fax setup wizard. Now let's get started by setting your country code on your printer control panel. Find the setup option by using the arrow keys, then hit select. Arrow over to country setting and hit select again. Most of you are watching this in the U.S., so arrow over to the U.S. and hit select. Now, you should launch the Dell fax setup wizard for your PC setup. It will make your life easier to install via the setup wizard because it will initialize key settings such as...
Award-winning PDF software


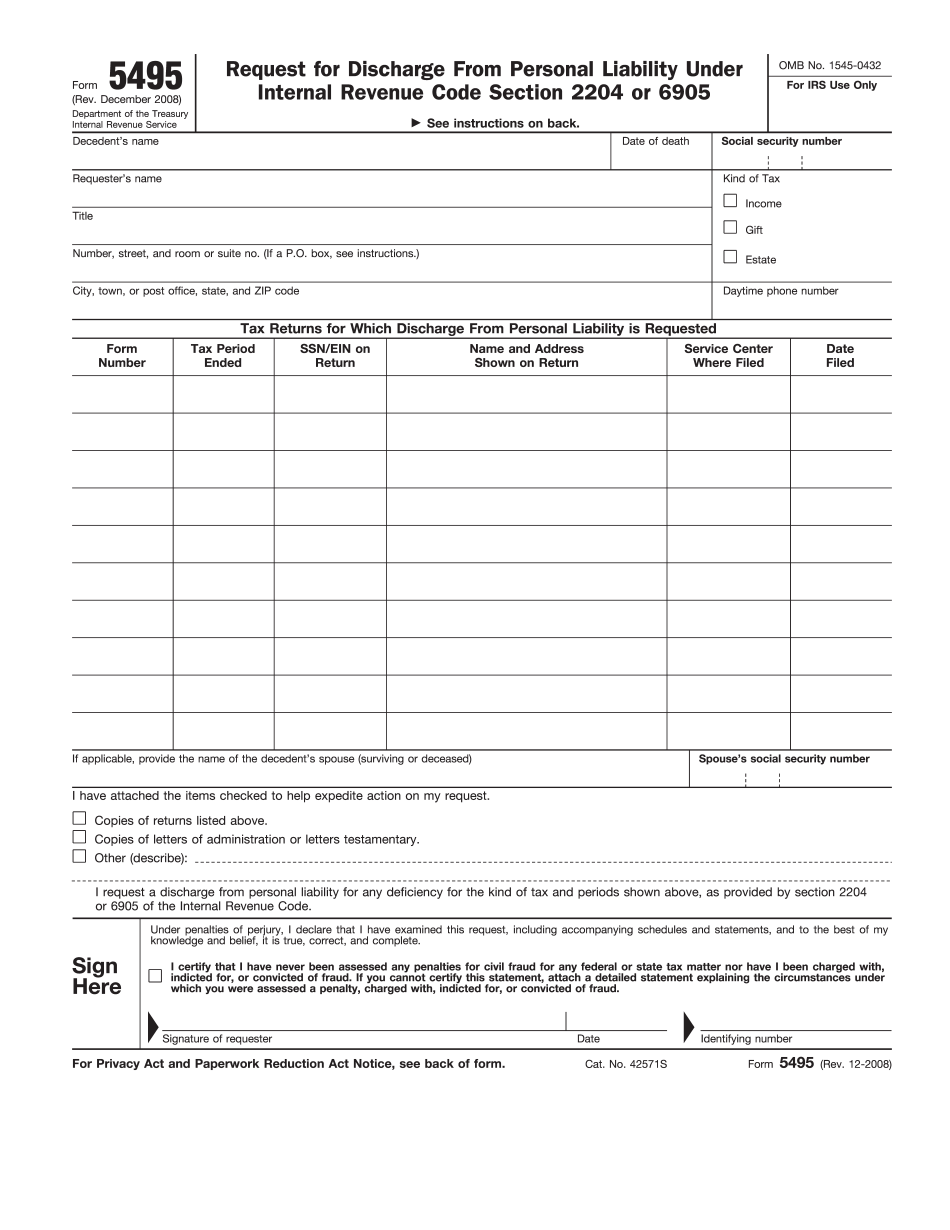
Video instructions and help with filling out and completing Which Form 5495 Email