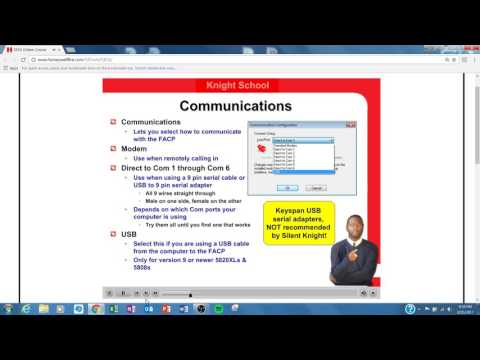
Welcome to night school. Today, let's take a look at our solonite software suite. At the end of this section, you will understand all the flexibilities that the software has to offer. You can download and upload your panel's configuration, make customized settings, map input zones, discern an output group, and upload information such as event history or status reports. To begin, open up the software. It should look just like this. Notice all the cool vibrant icons right up there in the toolbar. If they are grayed out for any reason, it probably means you don't have the correct CD key number installed. If you click on help and then go to about SKS, it should show the window about SKS. The satellite software suite should be version 5660. You have to check online to make sure you have the current version and the correct CD key number. Under options, you will see communications, file, username, and passwords. Communications is where you select how you connect to the panel. File is where you search for those SKS files on your computer. Then, there are username and passwords. You can create a username, create different passwords, or deflect it. Let's take a look at how to create a folder for our SPSS files. First, click on Start and go to your computer. It will bring up your C Drive. Double click on it and then click on new folder. Let's name that new folder SKS accounts. Press enter. Now, we have to create a path to that SKS accounts folder we just made. Go to options, click on file, and it will bring up a file options window. Click browse and open the browser. Locate your C Drive and then go down to SKS accounts. Click OK. So, under our file options...
Award-winning PDF software


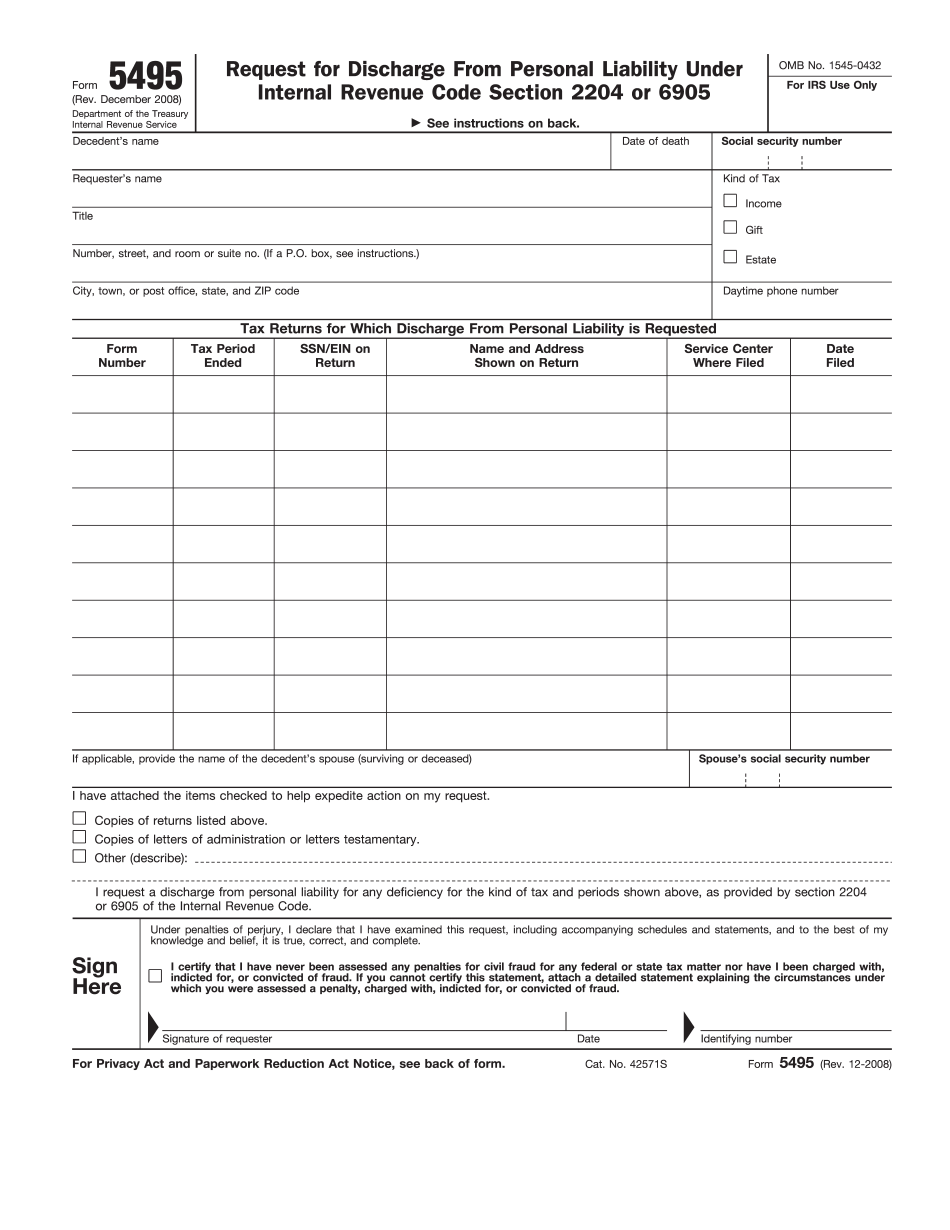
Video instructions and help with filling out and completing Where Form 5495 Download