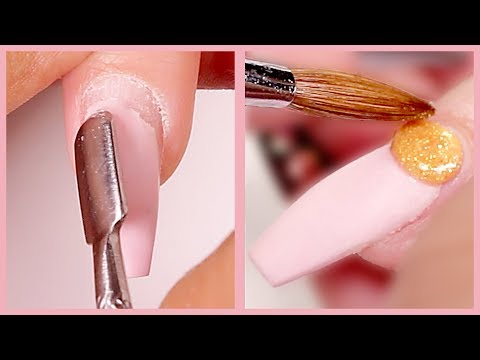
Hey guys, welcome back! It's Chris. Today, we're going to talk about how to do a basic fill. A fill is when you want to keep the color you already have on your nails, and you're just going to fill in the outgrowth. This fill is going to be really fast and easy, unlike a backfill where you remove all the acrylic and then apply another color of acrylic over the entire nail. So, this is going to be really fast and simple, so you guys can whip these out in no time. Let's get started! Music Alright, so my model here has had her nails on for a few weeks, and you can see the outgrowth. To start our fill, I'm going to drill off the shine and the topcoat of her nail. Now, since I'm working with colored acrylic and I still want this color as my base, I'm not going to drill off all the color. I'm going to apply my new color on top of this one, so I don't have to drill too much. I'm going to go in with my cuticle pusher and push back her cuticles. You're going to want to push back the cuticles to get as much of the dead, dry skin away from the nail plate as possible. When you're applying your acrylic, you don't want any dry, dead skin on the nail plate because it will cause lifting. Now, I'm going to go in with the sanding band and lightly buff the nail plate where the natural nail is. Alright, now that I've removed the shine from the natural nail plate, I'm going to go in with my dehydrator and apply it to the nail bed. What this is going to do is remove any oils that are on the nail. Then,...
Award-winning PDF software


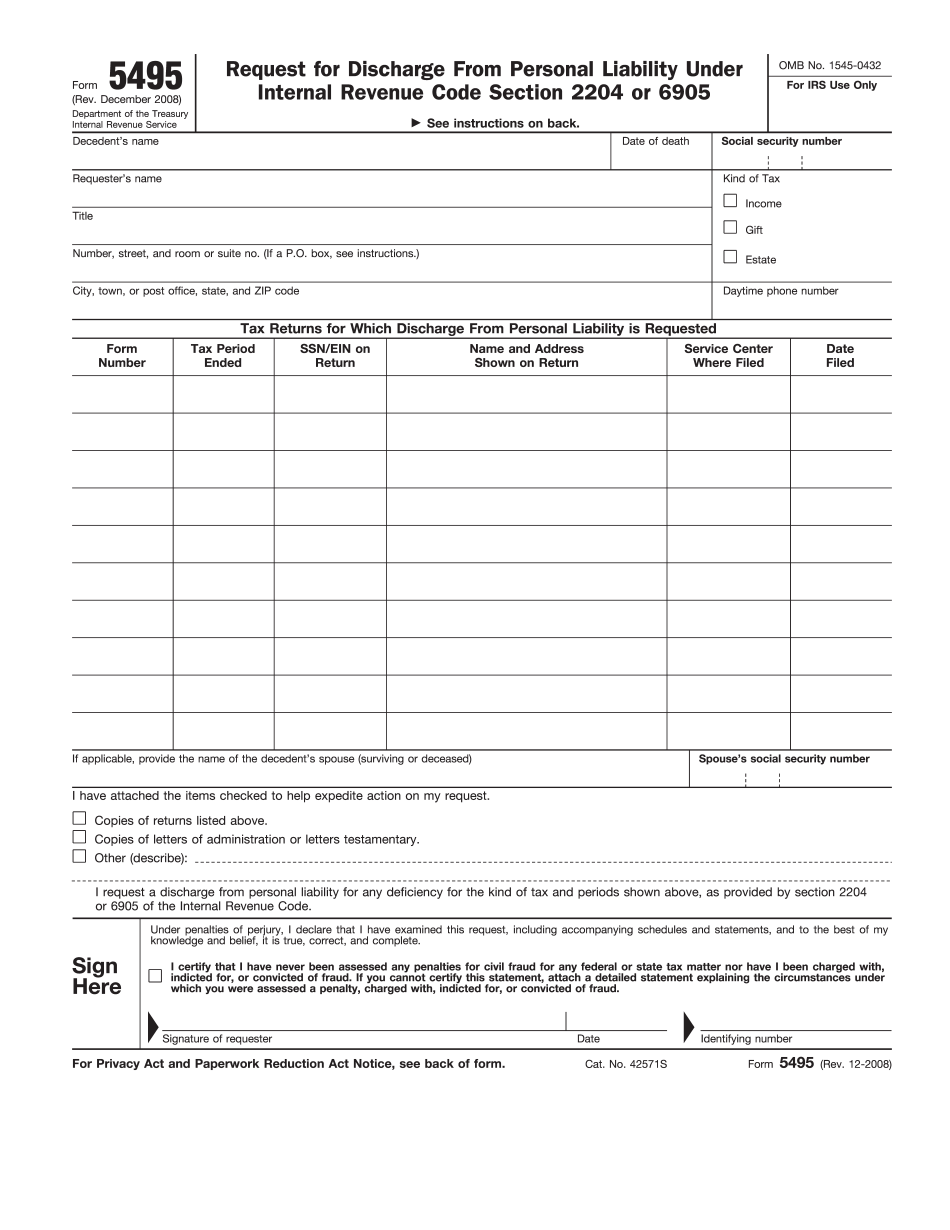
Video instructions and help with filling out and completing Fill Form 5495 Refill